The NVIDIA GTX 1650 is a popular mid-range graphics card, offering solid performance for gaming and productivity tasks. For users to unlock the full potential of this GPU, keeping the drivers up to date is essential. In this guide, we will explain the steps required to download and install the correct drivers for the NVIDIA GTX 1650, ensuring optimal performance and stability for your system. We’ll also delve into why drivers are crucial for GPU performance and how to troubleshoot common driver-related issues.
Why Drivers Matter for Your NVIDIA GTX 1650
Before jumping into the installation process, it’s important to understand why drivers are so essential for your NVIDIA GTX 1650. Drivers act as the communication bridge between your GPU hardware and the operating system. Without the right drivers, your graphics card cannot function properly, resulting in poor performance, glitches, and system instability. Updating the drivers ensures that your GPU works efficiently with the latest software, providing better performance in games, video editing, and other GPU-intensive tasks.
Moreover, installing the latest drivers from NVIDIA ensures that you’re using optimizations for new games and applications, offering better compatibility and minimizing issues like screen tearing or crashes. Updating your drivers also includes important security patches, bug fixes, and improvements, keeping your system running smoothly and safely.
Where to Download NVIDIA GTX 1650 Drivers
When it comes to downloading the correct drivers for your NVIDIA GTX 1650, it’s important to obtain them from reliable and official sources. The best place to download drivers for any NVIDIA graphics card, including the GTX 1650, is from the official NVIDIA website.
Here’s how to download drivers directly from NVIDIA:
- Visit the Official NVIDIA Website: Go to NVIDIA’s official download page.
- Enter Your GPU Details: On the download page, you will see a search tool where you can enter the details of your graphics card. Select:
- Product Type: GeForce
- Product Series: GeForce GTX 16 Series
- Product: GeForce GTX 1650
- Operating System: Choose the version of Windows (e.g., Windows 10, Windows 11) that you’re using.
- Download Type: Game Ready Driver (GRD) is typically the best option for most users, but you can also choose Studio Drivers (SD) if you’re doing professional creative work, as they are optimized for stability in those applications.
- Click ‘Search’: After filling in these details, click the Search button. You will be taken to a page where you can download the latest driver for your GTX 1650.
- Download the Driver: Click on the Download button to start the process. You will be prompted to save the installation file on your computer.
- Verify the Driver Version: Before proceeding, ensure that the driver version matches your system’s requirements. Sometimes, NVIDIA offers multiple drivers for different use cases, so ensure you’re downloading the one best suited for your needs.
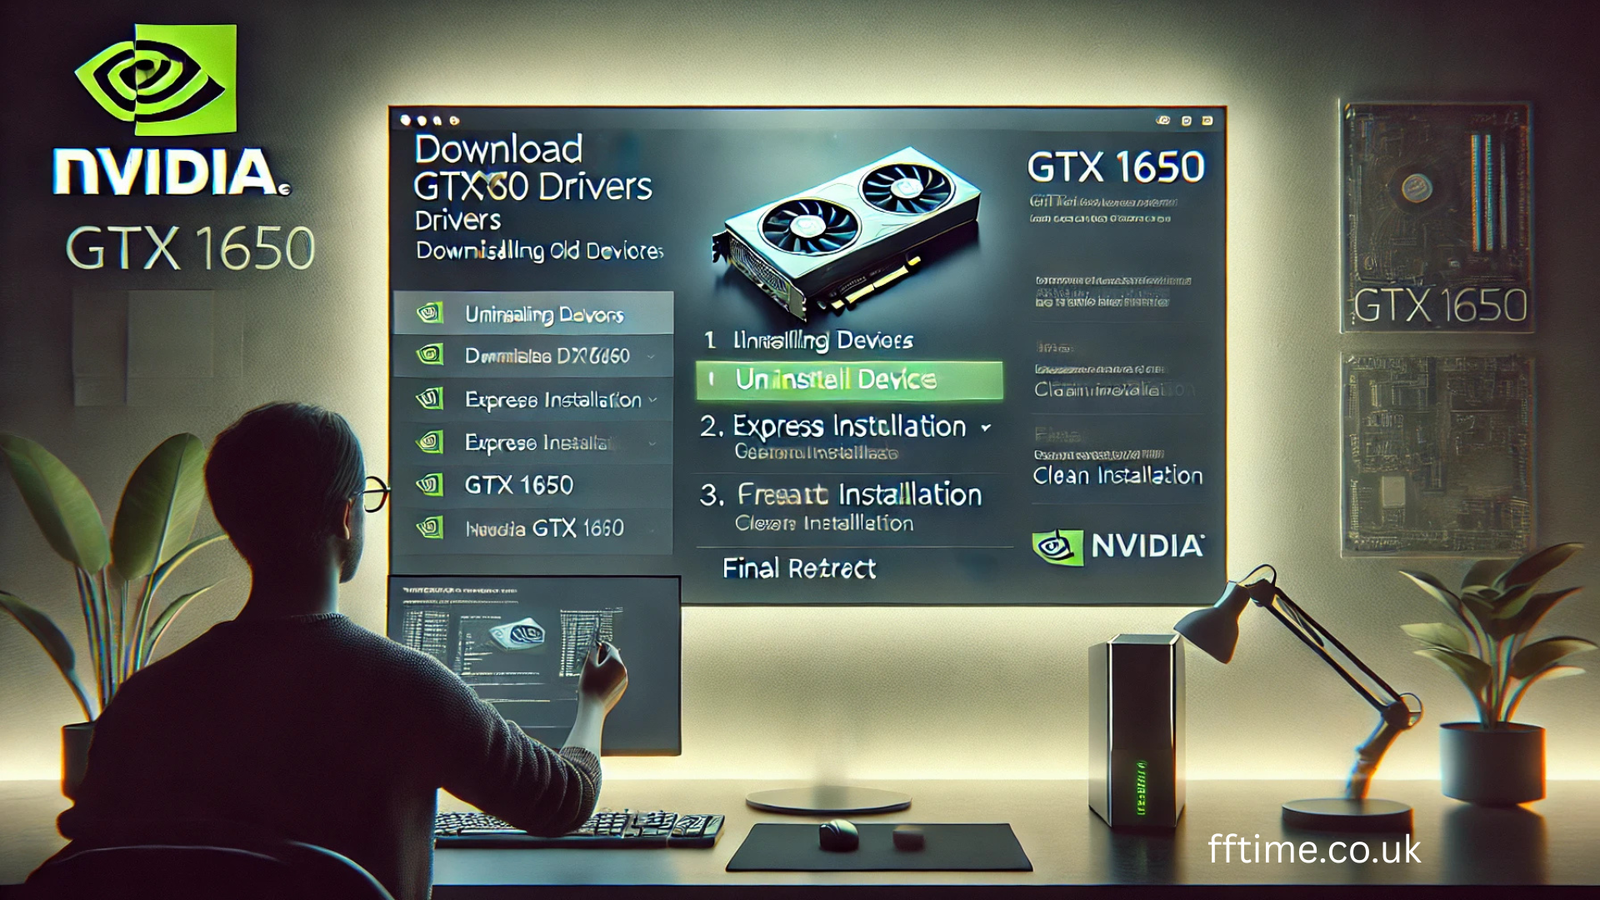
How to Install NVIDIA GTX 1650 Drivers
After downloading the driver, follow these steps to install it on your system:
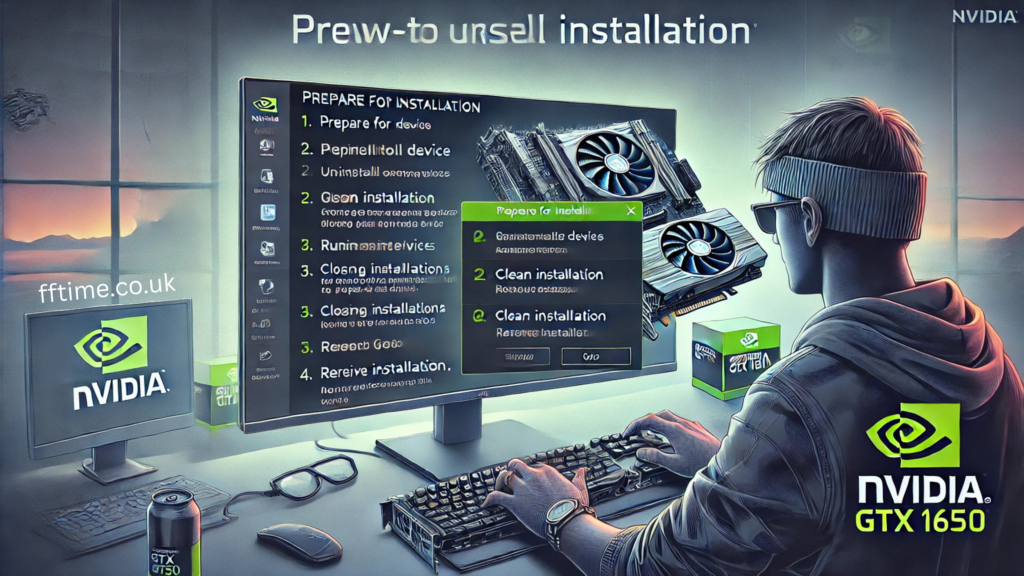
Step 1: Prepare for Installation
Before installing the driver, it’s important to prepare your system for the process:
- Uninstall Older Drivers (Optional): If you’ve previously installed NVIDIA drivers, it’s a good idea to uninstall them first. This ensures that no old driver conflicts with the new one. You can do this through Device Manager or by using a dedicated driver uninstaller like Display Driver Uninstaller (DDU). This is especially useful if you’re facing issues like screen flickering or crashes, which can sometimes occur with outdated drivers.
- Close Background Applications: Close any running applications, especially resource-heavy ones like web browsers, games, and video editors, to prevent any interference during the installation process.
Step 2: Run the Installer
- Locate the Downloaded Driver: Navigate to the folder where you saved the downloaded NVIDIA driver installer. The file should be an executable file with a name like “Setup.exe”.
- Run the Installer: Right-click on the installer and select Run as Administrator to grant necessary permissions for the installation. This ensures that the driver installation has the necessary administrative rights to install correctly.
- Follow the On-Screen Instructions: The installer will launch, and you’ll be prompted to agree to NVIDIA’s terms and conditions. Make sure to read and accept the agreement to proceed.
- Choose the Installation Type: You will be given the option to select an installation type:
- Express Installation: Recommended for most users, this option installs the latest drivers automatically with no additional configurations.
- Custom Installation: If you need to select specific components or features (like installing additional software such as GeForce Experience), you can choose this option. It also allows you to perform a clean installation, which will remove any old driver remnants that might be causing issues.
- Start the Installation: Once you’ve made your selection, click Install. The installation process will take a few minutes. During this time, your screen may flicker or temporarily go black as the new drivers are applied.
Step 3: Restart Your Computer
After the installation completes, the system will prompt you to restart your computer. This step is crucial for ensuring that the driver changes take effect and that the graphics card operates properly with the new driver. Save your work, close any open applications, and restart your system.
Step 4: Verify Installation
Once your system has restarted, verify that the drivers have been installed correctly:
- Right-click on the Desktop and select NVIDIA Control Panel. If you see the Control Panel, it means the installation was successful.
- Check Device Manager: Alternatively, you can go to Device Manager (type it into the search bar), expand the Display Adapters section, and verify that your GTX 1650 is listed under the NVIDIA section.
- Use GeForce Experience (Optional): If you installed GeForce Experience during the driver setup, you can open it to check for further updates and optimize game settings.
Troubleshooting Common NVIDIA GTX 1650 Driver Issues
Even with the latest drivers, users may occasionally run into issues. Here are some common problems and solutions:
1. Black Screen or Flickering After Driver Installation
This is a relatively common problem after installing a new driver. It may occur due to a conflict between old drivers and the new ones, or a compatibility issue with certain hardware configurations.
Solution: Perform a Clean Installation of the driver by choosing the Custom Installation option during the setup process. This option will remove any previous driver remnants before installing the new version.
2. Driver Not Installing or Crashing
If the installation fails, it could be due to corrupted files or insufficient system permissions.
Solution: Try running the installer as an administrator or use Display Driver Uninstaller (DDU) to completely remove any traces of previous drivers before attempting the installation again.
3. Low Performance or Lag in Games
If your performance decreases or games are lagging, it could be because the driver hasn’t been optimized for the specific game, or your system is not configured properly.
Solution: Ensure that you are using the latest version of the driver. You can also open the NVIDIA Control Panel and adjust settings like Power Management Mode to maximize performance. Additionally, use GeForce Experience to optimize your game settings for better performance.
4. No Display Output
If after installing the driver, your screen displays no signal, it could be related to a connection issue between your GPU and monitor or an incorrect installation.
Solution: Ensure your GPU is properly seated in the PCIe slot and that the monitor is correctly connected to the GPU. If that’s not the issue, try booting your system in Safe Mode and uninstalling the driver using DDU before reinstalling it.
Keeping Your NVIDIA GTX 1650 Drivers Up-to-Date
To ensure that your system remains optimized, it’s important to keep your NVIDIA GTX 1650 drivers up to date. NVIDIA regularly releases driver updates to optimize performance, fix bugs, and introduce new features. Here’s how to keep track of updates:
- GeForce Experience: This software automatically checks for driver updates and notifies you when a new version is available. It can download and install the latest driver with just a few clicks.
- Manual Checks: You can always check for updates manually on the NVIDIA website by following the same process outlined earlier.
How to Install and Update NVIDIA RTX 4070 Drivers for Optimal Performance
Conclusion
Downloading and installing the correct drivers for your NVIDIA GTX 1650 is essential for ensuring that your graphics card performs at its best. By following the steps outlined in this guide, you can easily download, install, and troubleshoot the drivers, keeping your system running smoothly. Regularly updating your drivers will help you stay ahead in terms of performance, stability, and security, ensuring that your GTX 1650 continues to deliver great gaming and productivity experiences.

Frank Eichhorn is a dedicated computer drivers specialist with three years of experience optimizing gaming and system performance. With broad expertise in configuring and troubleshooting a variety of drivers, Frank provides practical guidance to maximize frame rates, reduce latency, and ensure system stability across diverse applications. His clear, accessible guides empower gamers and PC enthusiasts to navigate technical complexities with ease. Passionate about hardware and software optimization, Frank stays current with the latest driver updates and performance trends to help readers achieve peak system performance.