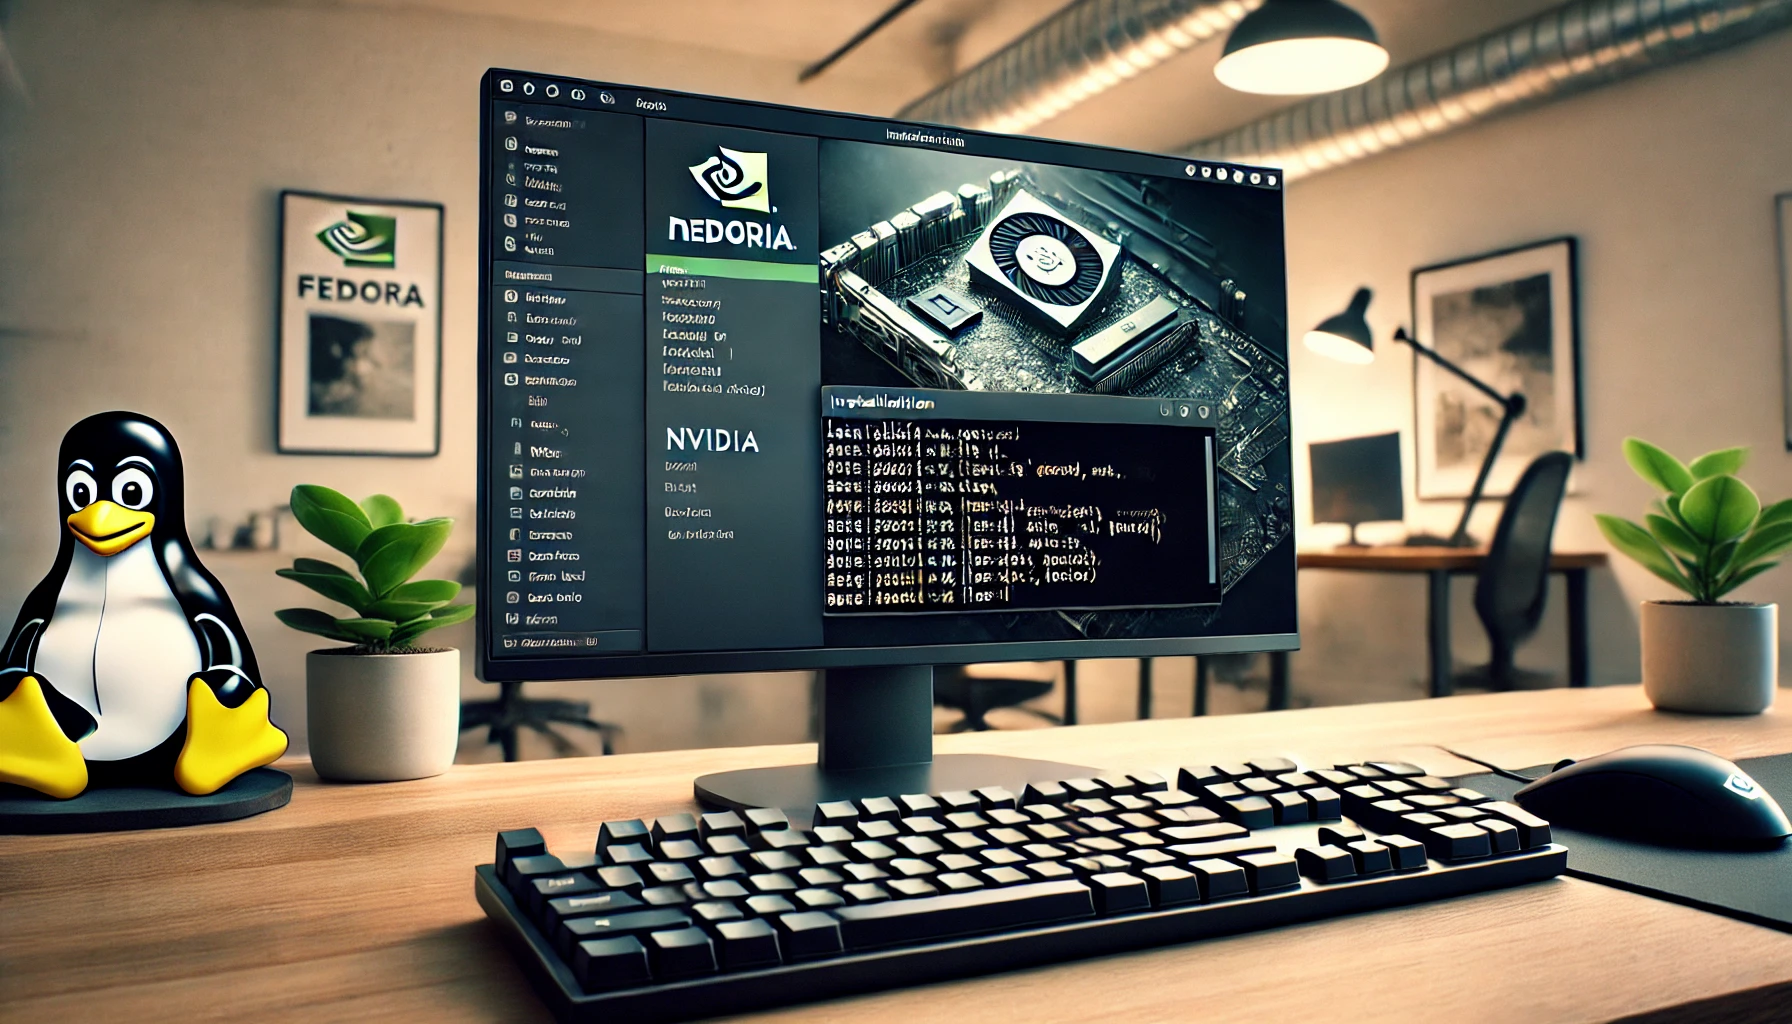
Fedora is a fantastic choice for Linux users who want a stable and cutting-edge experience, but if you’re working with an Nvidia graphics card, you might hit a few bumps when it comes to getting things up and running. Nvidia’s proprietary drivers are necessary to get the best out of your GPU, whether you’re gaming, working with design software, or just trying to get smooth graphical performance for everyday tasks. This guide will help you get your Nvidia drivers installed and configured properly on Fedora.
Why You Need Nvidia Drivers on Fedora
Fedora prides itself on free and open-source software, and that’s a great thing overall. But when it comes to things like Nvidia drivers, it can be a bit tricky because Fedora doesn’t include proprietary drivers by default. That’s where the confusion starts—while you can get basic functionality from the open-source Nouveau driver, it doesn’t unlock all the features of your Nvidia GPU. For things like hardware-accelerated video, advanced gaming features, or even professional work, you’ll need the proprietary Nvidia driver.
The good news is that Fedora doesn’t leave you hanging. With the help of third-party repositories like RPM Fusion, you can easily access and install Nvidia’s proprietary drivers, ensuring your hardware works at its best.
How to Install Nvidia Drivers on Fedora
Let’s dive into the installation process. It’s relatively simple, but there are a few steps to follow. The most efficient way to get Nvidia drivers installed on Fedora is by using the RPM Fusion repository. Here’s how to do it:
Step 1: Enabling RPM Fusion Repositories
First things first, you need to enable the RPM Fusion repositories. This repository contains the Nvidia drivers, and it’s not included by default in Fedora, but it’s easy to set up.
Open a terminal and run the following commands to enable both the free and non-free repositories. The non-free repository is where the Nvidia drivers live:
bashCopyEditsudo dnf install https://download1.rpmfusion.org/free/fedora/rpmfusion-free-release-$(rpm -E %fedora).noarch.rpm
sudo dnf install https://download1.rpmfusion.org/nonfree/fedora/rpmfusion-nonfree-release-$(rpm -E %fedora).noarch.rpm
Once these repositories are enabled, you’ll have access to a bunch of extra software, including the Nvidia drivers.
Step 2: Installing the Nvidia Drivers
Now that the repositories are enabled, it’s time to install the actual Nvidia drivers. This is where the magic happens.
First, you’ll want to update your system to make sure everything is up-to-date:
bashCopyEditsudo dnf update
Next, install the Nvidia driver package. The recommended package is akmod-nvidia. This ensures that the Nvidia drivers will automatically rebuild whenever you update the kernel, saving you from having to reinstall them manually every time a kernel update happens.
bashCopyEditsudo dnf install akmod-nvidia
Once the installation finishes, all that’s left to do is reboot your system:
bashCopyEditsudo reboot
Your system should now boot with the Nvidia drivers running, and your graphics card should be ready to go.
Step 3: Verifying the Installation
After rebooting, you can check if the drivers are working correctly by using the nvidia-smi command. This will show detailed information about your GPU, including the model and driver version. Just open a terminal and type:
bashCopyEditnvidia-smi
If the command displays your GPU details, then everything is set up properly.
Troubleshooting Common Issues

Even though the installation process is usually smooth, sometimes things can go wrong. Don’t worry, though—we’ve got some solutions to the most common issues.
1. Black Screen After Reboot
A black screen after installing Nvidia drivers is one of the most common problems. This can happen because the open-source Nouveau driver is still trying to load instead of the proprietary Nvidia driver. To fix this:
- Boot into recovery mode or use a live session.
- Run the following commands to disable Nouveau:bashCopyEdit
sudo echo "blacklist nouveau" >> /etc/modprobe.d/blacklist-nouveau.conf sudo dracut --force sudo reboot
This should stop Nouveau from interfering with the Nvidia drivers, and you should be able to boot into your system with the Nvidia driver active.
2. Missing Nvidia Settings
If you can’t find the Nvidia settings panel after installation, don’t panic. The settings tool lets you configure things like your GPU’s clock speed, fan speed, and display settings. If it’s not installed by default, you can easily add it by running:
bashCopyEditsudo dnf install nvidia-settings
Once installed, you’ll be able to launch Nvidia X Server Settings from your app menu to fine-tune your display and performance settings.
3. Kernel Updates Breaking Nvidia Drivers
Fedora is constantly updating its kernel, and sometimes after a kernel update, the Nvidia driver might stop working because the kernel modules need to be rebuilt. If that happens, just run this command to reinstall the Nvidia drivers and rebuild the necessary modules:
bashCopyEditsudo dnf reinstall akmod-nvidia
Reboot after the installation, and the drivers should work fine with the new kernel.
4. Hybrid Graphics (Optimus) Configuration
If you’re using a laptop with both an Intel GPU and an Nvidia GPU (common in many modern laptops), you’ll want to make sure you’re using the Nvidia GPU for tasks that need more power, like gaming or video editing. Fedora supports both Bumblebee and PRIME, which let you switch between GPUs.
For Bumblebee, you can install it with the following:
bashCopyEditsudo dnf install bumblebee-nvidia
Once installed, you can use optirun or primusrun to run apps using the Nvidia GPU. PRIME, on the other hand, is more modern and allows for seamless switching, especially in newer Fedora versions.
Keeping Your Nvidia Drivers Up to Date
Like any software, Nvidia drivers get updated regularly to improve performance, add new features, and fix bugs. To keep your drivers up-to-date, you can run the following command periodically:
bashCopyEditsudo dnf update nvidia*
This will update all Nvidia-related packages on your system, ensuring you’re always using the latest version of the drivers.
Additional Configuration for Optimal Performance
Once your drivers are installed, there are a few extra tweaks you can do to improve the overall performance of your Nvidia GPU.
- Overclocking: If you want to squeeze out a little more performance, you can use the
nvidia-settingstool to overclock your GPU. Be careful with this, though, as it can lead to higher power consumption and increased heat. - Fan Speed: If your GPU runs hot, adjusting the fan speed can help improve cooling and stability.
- Display Settings: Use the Nvidia settings tool to configure the best display resolutions and refresh rates for your monitors.
For those interested in CUDA programming (like machine learning or scientific computing), you can also install Nvidia’s CUDA toolkit to leverage your GPU for computational tasks.
NVIDIA 2070 Super Driver Updates You Shouldn’t Miss
Conclusion
Setting up Nvidia drivers on Fedora doesn’t have to be a stressful process. With the help of RPM Fusion and tools like akmod-nvidia, getting your system to recognize and properly utilize your Nvidia GPU is straightforward. While there may be a few hiccups along the way, troubleshooting is part of the learning experience, and with the tips provided, you should be able to get everything up and running smoothly. Whether you’re gaming, creating content, or just using your computer for everyday tasks, the right drivers will unlock the full potential of your Nvidia graphics card on Fedora.

Frank Eichhorn is a dedicated computer drivers specialist with three years of experience optimizing gaming and system performance. With broad expertise in configuring and troubleshooting a variety of drivers, Frank provides practical guidance to maximize frame rates, reduce latency, and ensure system stability across diverse applications. His clear, accessible guides empower gamers and PC enthusiasts to navigate technical complexities with ease. Passionate about hardware and software optimization, Frank stays current with the latest driver updates and performance trends to help readers achieve peak system performance.