If you’ve decided to remove the NVIDIA drivers from your Linux machine—whether it’s due to performance issues, a system update, or simply wanting to try something different—don’t worry, it’s not as daunting as it sounds. In this guide, I’ll walk you through the steps to safely uninstall NVIDIA drivers and get your system back to its default state. Let’s break it down step by step.
Why Would You Want to Remove NVIDIA Drivers?
Before diving into the process, it’s worth understanding why you might need to remove NVIDIA drivers in the first place.
- Performance Issues: Sometimes, after installing proprietary drivers, things can go wrong. You might notice your system slowing down, crashing, or even becoming unresponsive. Removing the NVIDIA drivers might be a quick way to fix those issues.
- Driver Conflicts: If you’ve switched to a different graphics card or need to use the open-source Nouveau driver (which is usually the default), NVIDIA drivers can cause conflicts. These can affect your overall system performance.
- System Upgrade or Kernel Issues: When you upgrade your Linux kernel or certain system components, the NVIDIA drivers might stop working correctly, causing bugs and errors. Uninstalling them might be necessary to fix such issues.
- Switching to Open-Source Drivers: Some people prefer the Nouveau drivers, which are open-source and come pre-installed on most Linux distributions. These might offer better stability for certain use cases, so if you’re feeling nostalgic for the “out-of-the-box” Linux experience, removing NVIDIA drivers could be the solution.
- Simply Wanting to Try Something New: Maybe you’ve just had enough with the proprietary drivers, and you want to see how your system behaves without them. Whatever your reason, the process is fairly simple.
Things to Consider Before You Start
Before we get to the removal process, there are a few things you should consider to avoid headaches down the road:
- Make Sure You Have Root/Sudo Access: Most of the commands we’ll be running require administrative privileges. Make sure you have access to
sudoor root privileges. - Backup Your Data: It’s always a good idea to back up important files before making significant changes to your system. Just in case anything goes wrong.
- Check Your Distribution: Different Linux distributions use different package managers. Whether you’re using Ubuntu, Fedora, or Arch, knowing which tools are at your disposal will make things smoother.
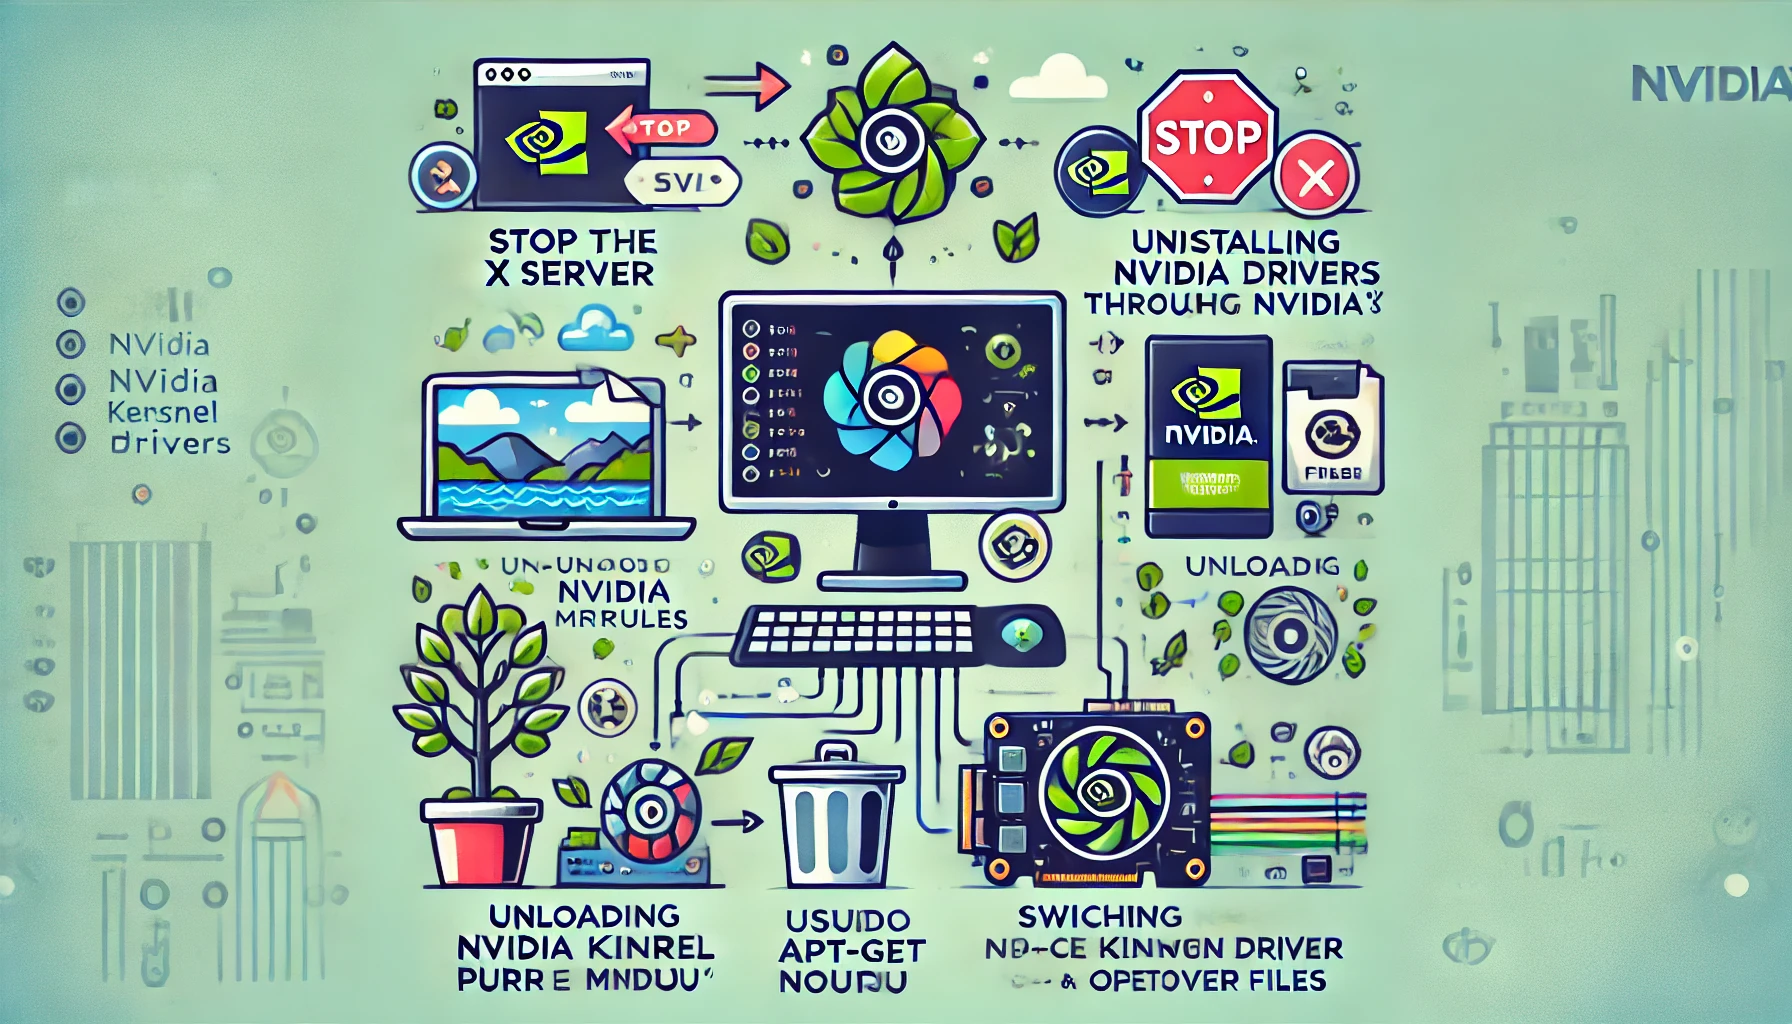
Step-by-Step Guide to Remove NVIDIA Drivers
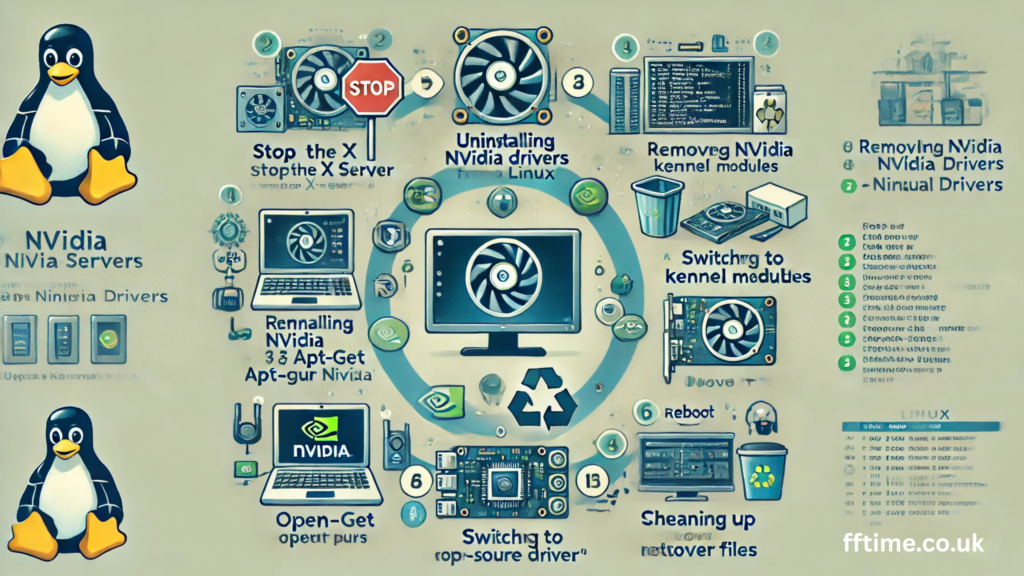
1. Stop the X Server
When dealing with graphics drivers, it’s crucial to stop the X server first. The X server is responsible for the graphical interface on your system, and trying to remove drivers while it’s running could cause issues.
To stop the X server, open up a terminal and type:
sudo systemctl stop gdm
This is for GNOME-based systems. If you’re using a different desktop environment, like KDE or LightDM, replace gdm with lightdm or whatever service your system uses.
Alternatively, you can switch to a different virtual console by pressing Ctrl + Alt + F1, which will take you to a non-graphical interface. Log in and get ready to continue.
2. Uninstall the NVIDIA Drivers Using Your Package Manager
Now that the X server is stopped, it’s time to remove the NVIDIA drivers. Depending on your Linux distribution, the package manager you use will differ.
For Ubuntu or Debian-based Systems:
If you’re on Ubuntu or a related distro, the apt package manager will handle things. Use these commands:
sudo apt-get purge nvidia*
sudo apt-get autoremove
purge nvidia*removes all NVIDIA-related packages.autoremovecleans up any other unused dependencies.
For Fedora:
Fedora uses dnf to manage packages. To remove the NVIDIA drivers, type:
sudo dnf remove xorg-x11-drv-nvidia*
sudo dnf autoremove
For Arch Linux:
On Arch, it’s simple with pacman:
sudo pacman -Rns nvidia
This removes the NVIDIA drivers and any dependencies you no longer need.
3. Remove NVIDIA Kernel Modules
Sometimes, even after uninstalling the drivers, the NVIDIA kernel modules (which control hardware) can still linger. You want to make sure these are removed too.
Run the following command to unload the NVIDIA module:
sudo rmmod nvidia
If that doesn’t work, try this:
sudo modprobe -r nvidia
You might also want to blacklist NVIDIA modules so they don’t get loaded again on boot. To do this, create or modify a blacklist file:
sudo nano /etc/modprobe.d/blacklist-nvidia.conf
Add this line to the file:
blacklist nvidia
Save and close the file.
4. Switch Back to the Nouveau Driver (Optional)
If you want to go back to using the open-source Nouveau driver (which is typically the default), you’ll need to ensure it’s active. This is especially important if you’ve been using proprietary NVIDIA drivers for a long time.
To enable Nouveau, run:
sudo modprobe nouveau
After that, regenerate your initramfs so that it knows about Nouveau:
sudo update-initramfs -u
For Fedora or other distros using dracut:
sudo dracut --force
Reboot your system:
sudo reboot
When you reboot, your system should be using Nouveau if everything worked properly.
5. Clean Up Leftover Files
Even after removing the drivers, there might be some leftover files that can clutter your system. You’ll want to remove these manually, especially if you’re planning to reinstall drivers later.
Check these directories for NVIDIA-related files:
/etc/X11/xorg.conf.d//etc/modprobe.d//lib/modules/$(uname -r)/kernel/drivers/video/
If you find any NVIDIA-related files, you can remove them with:
sudo rm -rf /etc/X11/xorg.conf.d/20-nvidia.conf
This will clean up any residual configurations from the NVIDIA driver.
6. Reboot Your System
Once you’ve completed all the steps, go ahead and reboot your system to ensure everything takes effect.
sudo reboot
After rebooting, check if your system is using the Nouveau drivers or if the NVIDIA drivers are gone. You can check your system’s graphical settings to verify everything is working as expected.
Troubleshooting Common Issues
Black Screen After Uninstall
One common issue people face is a black screen after uninstalling NVIDIA drivers. If this happens, it’s usually because Nouveau hasn’t loaded correctly. Try booting into recovery mode, reinstalling Nouveau, and then rebooting again.
Reinstalling NVIDIA Drivers
If you ever need to reinstall NVIDIA drivers (maybe after trying out Nouveau), you can either visit the official NVIDIA website to download the latest drivers or use your package manager to reinstall them.
For example, on Ubuntu, you can install the NVIDIA drivers again with:
sudo apt-get install nvidia-driver-<version>
Make sure you replace <version> with the correct driver version for your GPU.
Installing NVIDIA Drivers on Debian: A Practical Guide
Conclusion
Removing NVIDIA drivers on Linux doesn’t need to be a difficult task. By following the steps outlined above, you should be able to cleanly uninstall the drivers and either revert to Nouveau or leave your system without proprietary graphics drivers altogether. Whether you’re troubleshooting, upgrading, or simply experimenting with different drivers, it’s always good to know how to safely remove NVIDIA drivers without damaging your system.

Frank Eichhorn is a professional driver and systems expert with over three years of experience helping users fix and optimize a wide range of computer drivers. He specializes in all major driver categories, including graphics, audio, network (Wi-Fi, LAN, Bluetooth), printer, motherboard, USB, touchpad, and even BIOS/firmware drivers.