NVIDIA, a leading name in the graphics card industry, is known for its high-performance GPUs that power everything from gaming systems to professional workstations. Whether you’re a gamer looking to enhance your gaming experience, a content creator working on 3D rendering, or simply someone who needs a stable GPU performance, installing and maintaining the correct NVIDIA GPU drivers is crucial. This article will guide you through everything you need to know about installing and updating NVIDIA GPU drivers, ensuring that you get the best performance and stability from your hardware.
What Are NVIDIA GPU Drivers?
NVIDIA GPU drivers are software programs that allow your operating system to communicate with the NVIDIA graphics card installed on your computer. These drivers are essential for your computer to correctly recognize and utilize the full capabilities of your NVIDIA GPU. Without the correct drivers, your GPU will not function at its optimal level, leading to lower performance, potential crashes, or system instability.
Why Are NVIDIA GPU Drivers Important?
NVIDIA GPU drivers are essential for several reasons:
- Performance Optimization: Drivers are regularly updated to optimize your GPU’s performance, especially when new gaming titles, software, or hardware configurations are released.
- Compatibility: As new games and applications emerge, developers often fine-tune the performance for specific GPU models, which is reflected in the driver updates.
- Bug Fixes: Every new driver release typically includes fixes for known bugs and glitches, preventing crashes or issues that might affect gameplay or application performance.
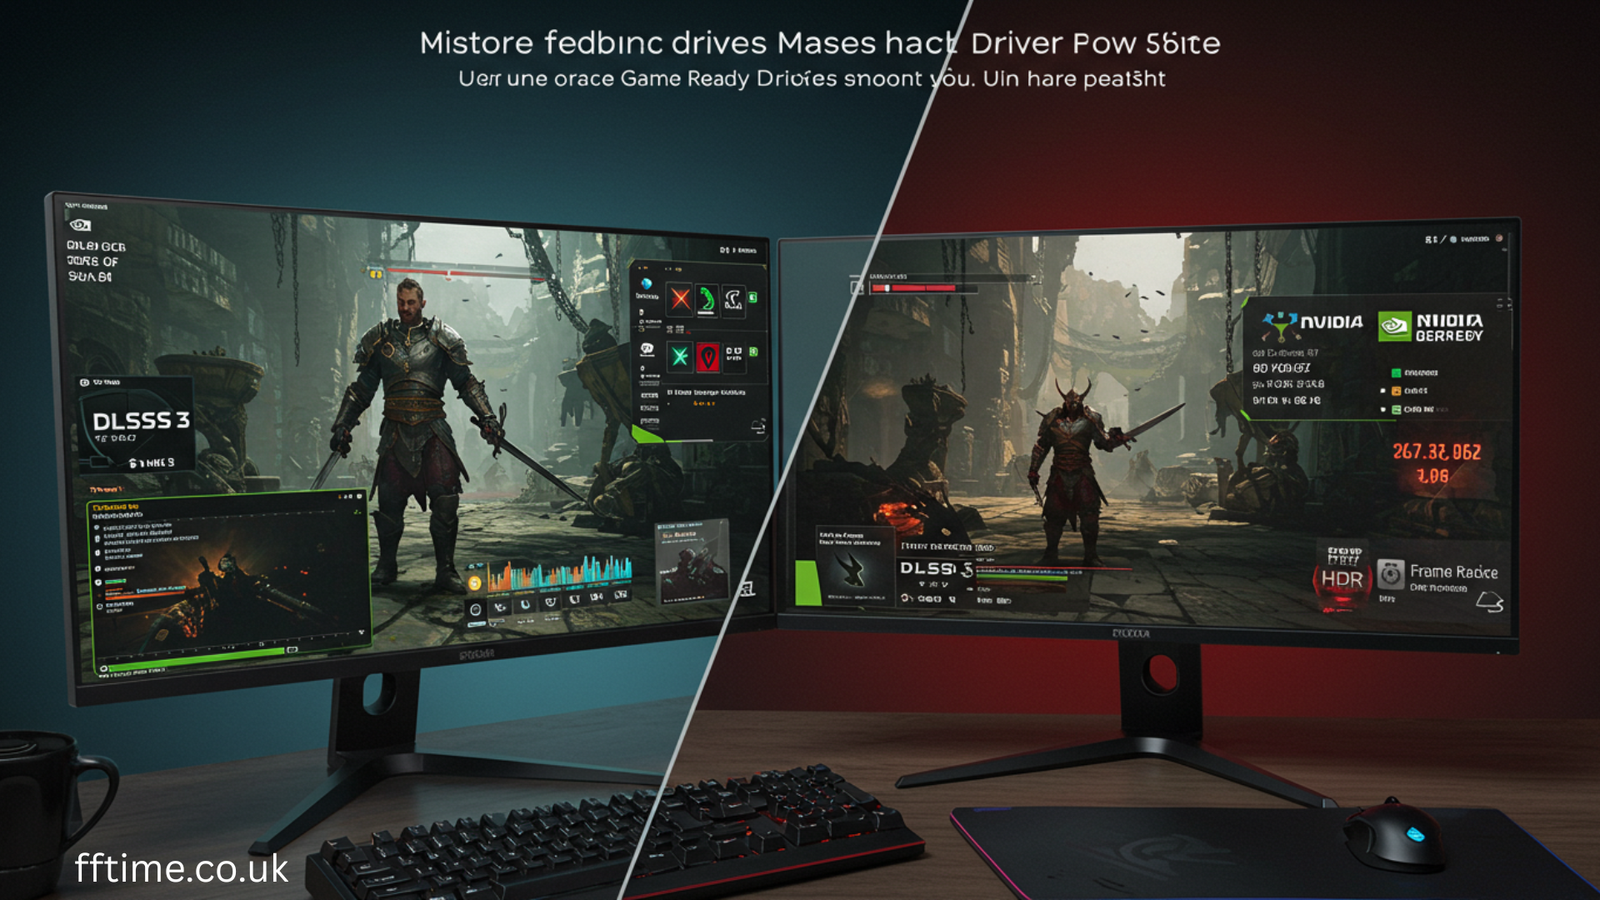
- New Features: Driver updates often introduce new features and enhancements to support the latest technologies, including ray tracing, DLSS (Deep Learning Super Sampling), and others that are supported by NVIDIA’s latest GPUs.
- Stability: Keeping your GPU drivers up-to-date ensures that your system runs smoothly, reducing the likelihood of crashes, freezes, or hardware failures due to outdated software.
How to Install NVIDIA GPU Drivers
Installing NVIDIA GPU drivers is a straightforward process, but it’s essential to follow the correct steps to ensure a seamless installation. Here is a step-by-step guide:
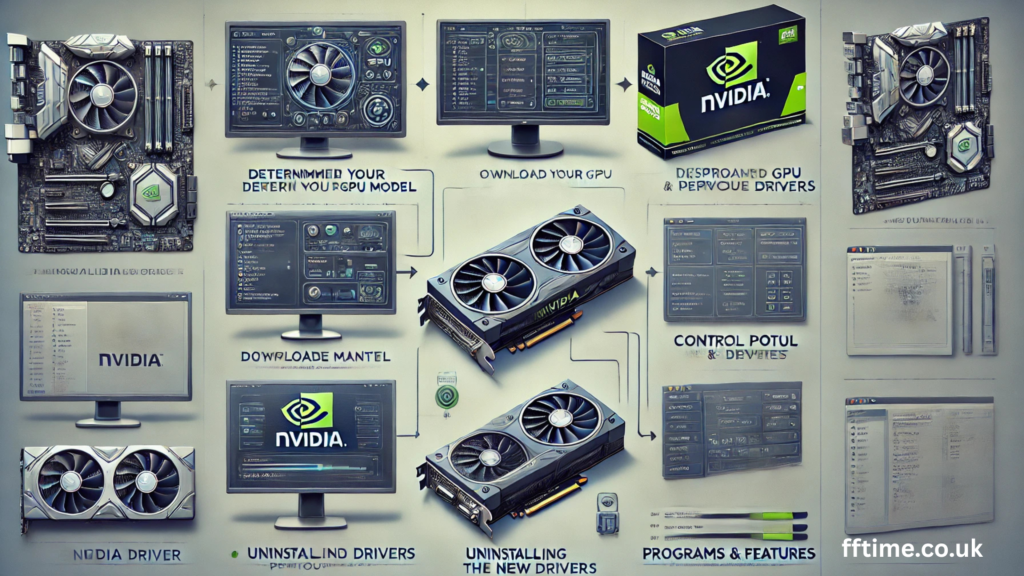
Step 1: Determine Your GPU Model
Before you download and install the appropriate driver, you need to know which NVIDIA GPU model you have. This can be done through the following steps:
- Windows 10: Right-click on the desktop, select Display settings. Scroll down and click on Advanced display settings. Under Display adapter properties, you’ll find the name and model of your GPU.
- Device Manager: You can also check through Device Manager. Go to Start > Device Manager > Display adapters. Here, your NVIDIA GPU model will be listed.
Step 2: Download the Latest NVIDIA Driver
Once you’ve determined your GPU model, the next step is to download the latest driver for your GPU:
- Visit the official NVIDIA website (https://www.nvidia.com/Download/index.aspx).
- Under the “Option 1: Manually find drivers” section, select your GPU model from the dropdown menus.
- Alternatively, you can use NVIDIA GeForce Experience, a software suite that automatically detects your GPU model and installs the correct drivers. If you don’t have GeForce Experience installed, you can download it from the official NVIDIA website.
- Once you’ve selected your GPU model, click Search, and you will be directed to a page where you can download the driver.
- Choose your operating system and click Download to get the driver installer.
Step 3: Uninstall Previous Drivers (Optional but Recommended)
It’s a good practice to uninstall the old drivers before installing the new ones. This ensures that any outdated software doesn’t interfere with the new installation.
- Go to Control Panel > Programs > Programs and Features.
- Find NVIDIA Graphics Driver and click on Uninstall.
- Once uninstalled, restart your computer.
Step 4: Install the New Driver
After downloading the new driver, follow these steps:
- Locate the downloaded installer file (usually in the Downloads folder).
- Double-click on the file to start the installation process.
- Follow the on-screen instructions. You may be given the option to choose between Express Installation or Custom Installation. If you are unsure, Express Installation is the recommended option.
- After the installation process completes, restart your computer to apply the changes.
How to Update NVIDIA GPU Drivers
Regularly updating your NVIDIA GPU drivers ensures that you are always running the latest version with bug fixes, security patches, and new features. Here’s how you can easily update your drivers:
Method 1: Use GeForce Experience
NVIDIA’s GeForce Experience is a tool designed to help users keep their drivers up-to-date automatically. Here’s how you can use it:
- Open GeForce Experience. If you don’t have it installed, you can download it from the NVIDIA website.
- Log in to your account (or create one if you don’t have an account).
- In the Drivers tab, you will see a notification if a new driver is available.
- Click Download to start downloading the latest driver.
- Once the download is complete, the installer will automatically launch. Follow the same steps as the installation process.
- Restart your system after the installation is complete.
Method 2: Manually Check for Driver Updates
You can also manually check for driver updates directly on the NVIDIA website. Here’s how:
- Visit the NVIDIA Driver Download page (https://www.nvidia.com/Download/index.aspx).
- Select your GPU model and operating system.
- Click Search and then Download the latest available driver.
- Follow the installation process as described above.
Method 3: Using Windows Update (Automatic Updates)
For most users, NVIDIA GPU drivers are automatically updated through Windows Update. However, this is not always the fastest way to get the latest drivers. If you prefer to rely on Windows Update:
- Go to Settings > Update & Security > Windows Update.
- Click on Check for updates.
- If a new NVIDIA driver is available, Windows will automatically download and install it.
Troubleshooting Common Issues
Even with the best drivers, users may occasionally run into issues. Here are some common problems and their solutions:
1. Driver Installation Fails
If the driver installation fails, it could be due to a corrupted installer or conflicting software. To fix this:
- Clean the previous installation: Use Display Driver Uninstaller (DDU) to completely remove any previous NVIDIA drivers before trying again.
- Check for Windows updates: Ensure that your operating system is up-to-date with the latest patches installed.
- Run as Administrator: Sometimes, running the installer with administrator privileges helps.
2. Black Screen After Installation
If your system shows a black screen after installing the new driver, try booting in Safe Mode and reinstalling the driver. You may also need to use DDU to completely remove the current drivers and reinstall a compatible version.
3. Driver Crashes or Errors
If the driver crashes or you see error messages, try the following:
- Reinstall the driver: Follow the installation process again using the latest driver version.
- Roll back to a previous driver version: Sometimes, newer drivers might cause compatibility issues. Rolling back to a previous version can fix the issue.
Installing NVIDIA Drivers on Fedora: A Step-by-Step Guide
Conclusion
NVIDIA GPU drivers are essential to ensure that your graphics card operates efficiently and provides the best performance. Installing and updating the drivers regularly helps to fix bugs, improve system stability, and unlock new features for your GPU. By following the steps outlined in this article, you can easily install, update, and troubleshoot your NVIDIA GPU drivers. Whether you’re a casual user or a professional gamer, maintaining the latest drivers will ensure that your system runs smoothly and you get the most out of your NVIDIA GPU.

Frank Eichhorn is a professional driver and systems expert with over three years of experience helping users fix and optimize a wide range of computer drivers. He specializes in all major driver categories, including graphics, audio, network (Wi-Fi, LAN, Bluetooth), printer, motherboard, USB, touchpad, and even BIOS/firmware drivers.