Uninstalling Nvidia drivers on Ubuntu is a task that may become necessary for various reasons, such as resolving system conflicts, reverting to open-source drivers, or preparing for a fresh installation of updated drivers. This comprehensive guide provides detailed steps to safely remove Nvidia drivers and restore your system to its default settings, ensuring stability and optimal performance.
Why Uninstall Nvidia Drivers?
There are several scenarios where uninstalling Nvidia drivers becomes essential:
- Driver Corruption: Over time, driver files can become corrupted due to system updates or software conflicts, leading to performance issues or hardware malfunctions.
- System Conflicts: Proprietary Nvidia drivers may conflict with other system components or software, causing instability or crashes.
- Switching to Open-Source Drivers: Users may prefer the open-source Nouveau drivers for their flexibility and community support.
- Preparing for Driver Updates: A clean uninstallation of existing drivers ensures that new driver installations proceed without residual conflicts.
Understanding the need for uninstallation helps in maintaining a stable and efficient system environment.
Preliminary Steps
Before proceeding with the uninstallation, it’s crucial to prepare your system to prevent potential issues.
1. Verify Installed Nvidia Packages
Identifying the installed Nvidia packages allows for a thorough and complete removal.
- Open Terminal: Press
Ctrl + Alt + Tto launch the terminal. - List Nvidia Packages: Execute the following command to display all installed Nvidia packages:
bash Copydpkg -l | grep -i nvidia
This command filters the installed packages, listing those related to Nvidia.
2. Backup Important Data
While uninstalling drivers is generally safe, it’s prudent to back up essential data to prevent any accidental loss.
- Backup Configuration Files: If you’ve customized your Xorg configuration, back up the
xorg.conffile:
bash Copysudo cp /etc/X11/xorg.conf /etc/X11/xorg.conf.backup
This step ensures that you can restore your previous configuration if needed.
Uninstalling Nvidia Drivers
The uninstallation process varies depending on how the drivers were installed. We’ll cover methods for drivers installed via Ubuntu’s package manager and those installed using Nvidia’s official installer.
Method 1: Uninstalling Drivers Installed via Package Manager
If you installed the Nvidia drivers using Ubuntu’s package management system (apt), follow these steps:
- Purge Nvidia Packages: Remove all Nvidia-related packages:
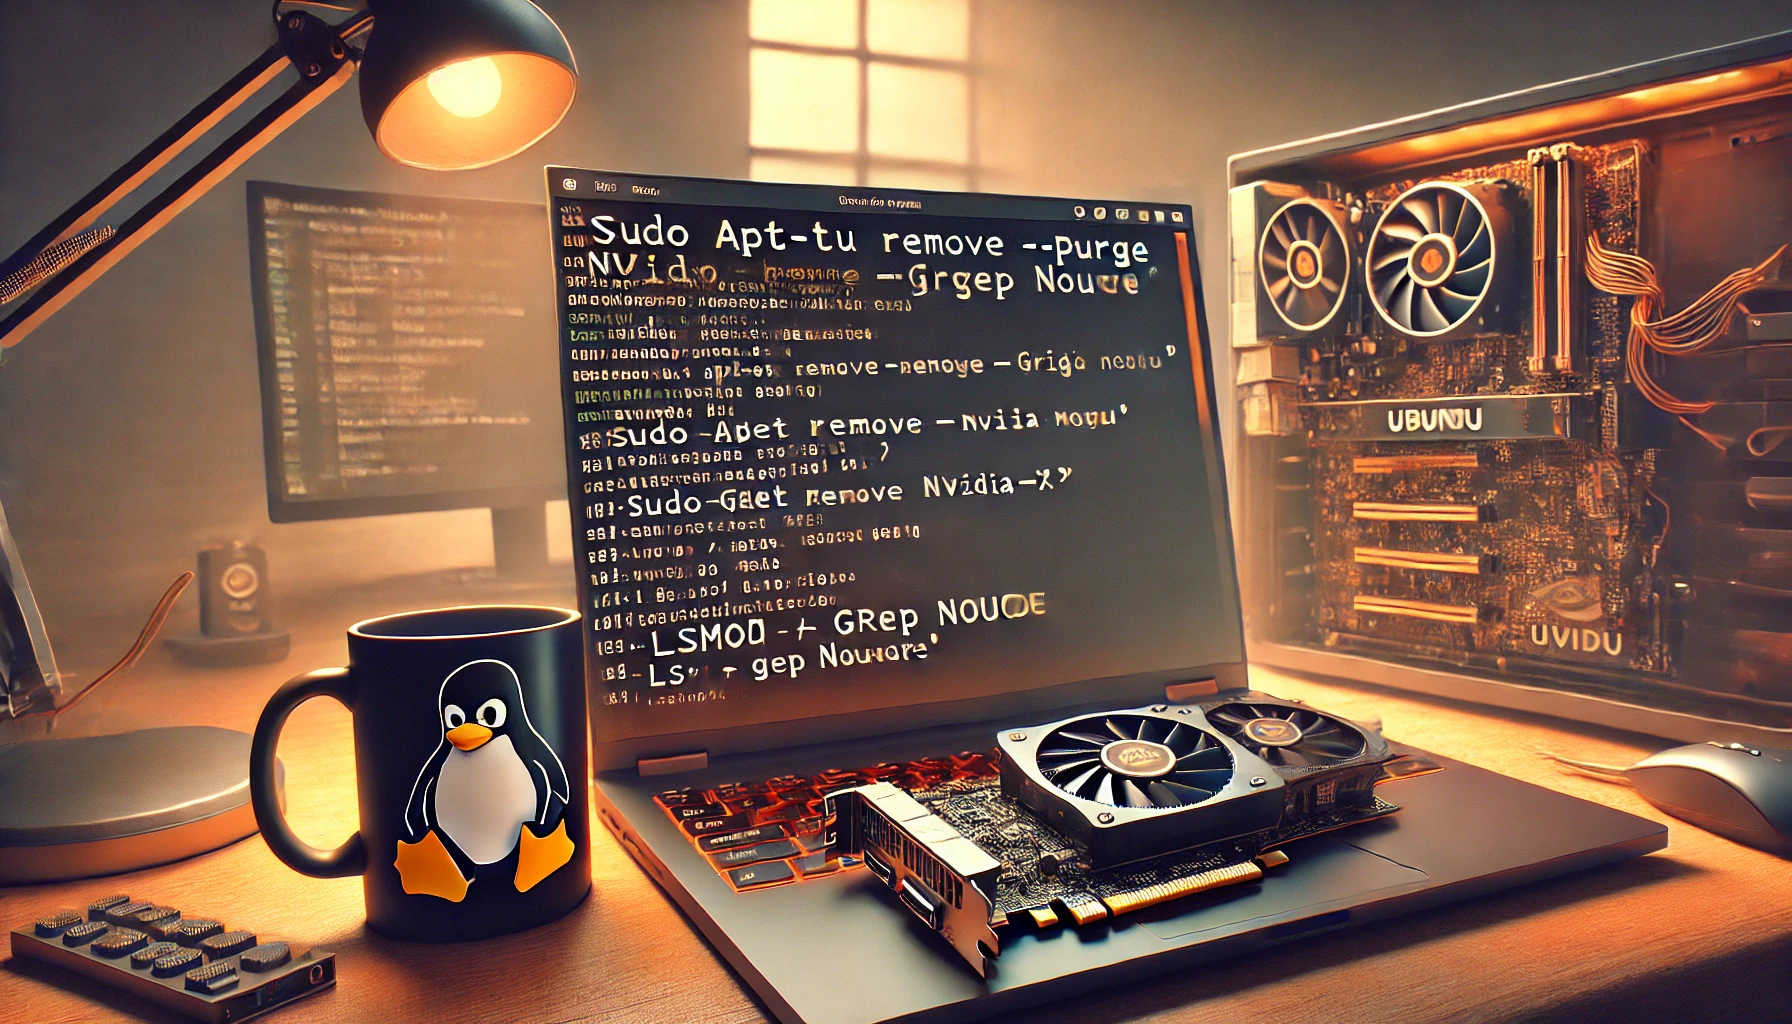
bash Copysudo apt-get remove --purge '^nvidia-.*'
The--purgeoption ensures that configuration files are also removed. The'^nvidia-.*'pattern targets all packages starting with “nvidia-“. askubuntu.com - Remove Unused Dependencies: Clean up any dependencies that are no longer needed:
bash Copy
sudo apt-get autoremove - Reinstall Ubuntu Desktop Package: In some cases, the
ubuntu-desktoppackage might be removed during the purge. Reinstall it to ensure a functional desktop environment:
bash Copysudo apt-get install ubuntu-desktop
This step reinstalls the core components of the Ubuntu desktop environment. - Restore Default Xorg Configuration: If an
xorg.conffile exists, remove it to allow the system to use default settings:
bash Copysudo rm /etc/X11/xorg.conf
This action ensures that Xorg uses automatic configuration, which is suitable for most users. - Reboot the System: Restart your computer to apply the changes:
bash Copysudo reboot
Method 2: Uninstalling Drivers Installed via Nvidia’s Official Installer
If you installed the drivers using Nvidia’s .run file, the uninstallation process differs:
- Locate the Original Installer: Find the exact
.runfile used for installation. If it’s no longer available, re-download the same version from Nvidia’s website. - Run the Uninstaller: Navigate to the directory containing the
.runfile and execute:
bash Copy
sudo bash NVIDIA-Linux-x86_64-<version>.run --uninstall
Replace<version>with the specific version number of the installer. This command launches the uninstaller provided by Nvidia. linuxconfig.org - Follow On-Screen Prompts: The uninstaller will guide you through the removal process. Follow the prompts to complete the uninstallation.
- Restore Default Xorg Configuration: As with the package manager method, remove any existing
xorg.conffile:
bash Copysudo rm /etc/X11/xorg.conf - Reboot the System: Restart your computer to apply the changes:
bash Copy
sudo reboot
After rebooting, the system should revert to using the Nouveau drivers.
How to Successfully Install Nvidia GPU Drivers on Fedora 39
Post-Uninstallation Steps
After removing the Nvidia drivers, consider the following steps to ensure your system operates correctly.
1. Verify the Active Graphics Driver
Confirm that the Nouveau driver is active:
- Check Loaded Modules: Run the following command:
bash Copy
tlsmod | grep nouveau

Frank Eichhorn is a dedicated computer drivers specialist with three years of experience optimizing gaming and system performance. With broad expertise in configuring and troubleshooting a variety of drivers, Frank provides practical guidance to maximize frame rates, reduce latency, and ensure system stability across diverse applications. His clear, accessible guides empower gamers and PC enthusiasts to navigate technical complexities with ease. Passionate about hardware and software optimization, Frank stays current with the latest driver updates and performance trends to help readers achieve peak system performance.