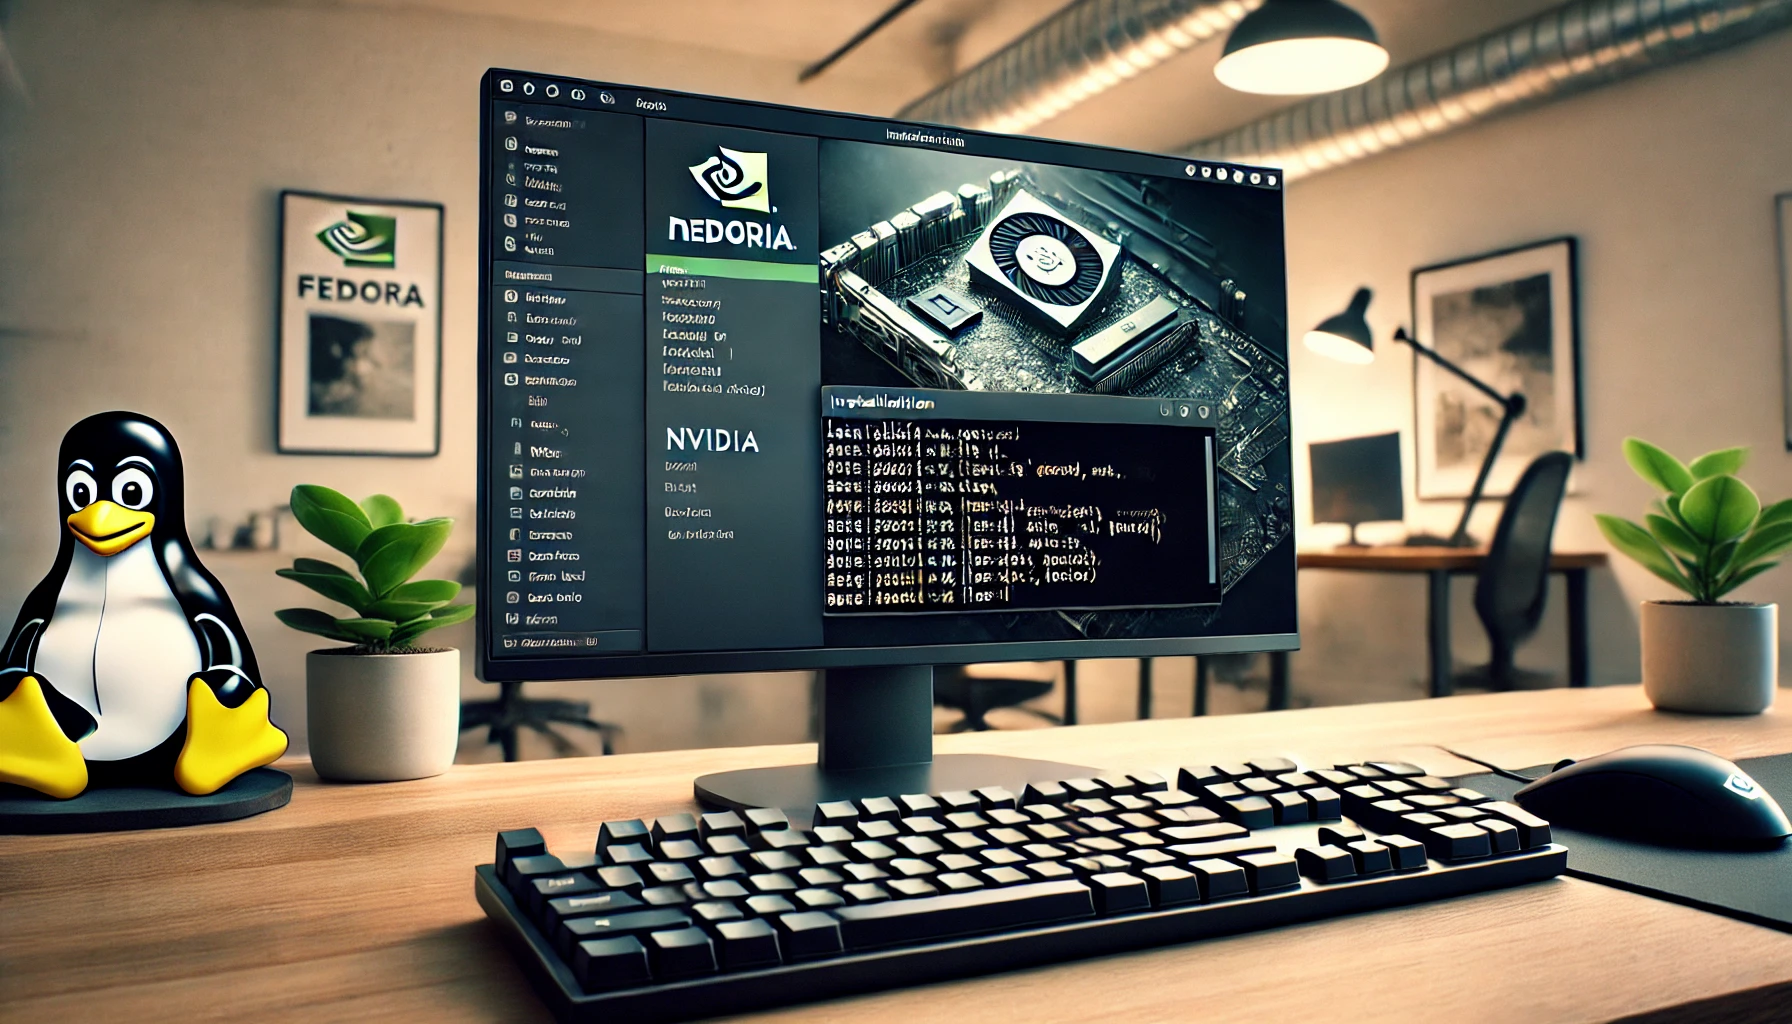
Installing NVIDIA graphics drivers on Fedora is essential for users seeking optimal performance from their NVIDIA GPUs. Whether you’re a gamer, a content creator, or a professional relying on GPU acceleration, having the correct drivers ensures your system runs efficiently. This comprehensive guide will walk you through the process of installing NVIDIA drivers on Fedora, covering both automated and manual methods to cater to different user preferences.
Understanding the Importance of NVIDIA Drivers
NVIDIA drivers are proprietary software that enable communication between the operating system and NVIDIA hardware. While Fedora includes open-source Nouveau drivers by default, they often lack the performance and feature set of the proprietary versions. Installing the official NVIDIA drivers unlocks the full potential of your GPU, providing better support for 3D applications, gaming, and other graphics-intensive tasks.
Prerequisites
Before proceeding with the installation, ensure you have:
- A Fedora System: This guide is tailored for Fedora users.
- Administrative Privileges: You’ll need
sudoaccess to install software and make system changes. - Stable Internet Connection: Required for downloading packages and updates.
Method 1: Installing NVIDIA Drivers Using RPM Fusion
RPM Fusion is a third-party repository that provides software not included in Fedora’s default repositories, including NVIDIA drivers. This method is recommended for most users due to its simplicity and integration with Fedora’s package management system.
Step 1: Enable RPM Fusion Repositories
- Update Your System: Open a terminal and execute:
bash Copysudo dnf update -y
This ensures all existing packages are up-to-date. - Enable RPM Fusion: Add both free and non-free repositories:
bash Copysudo dnf install \ https://download1.rpmfusion.org/free/fedora/rpmfusion-free-release-$(rpm -E %fedora).noarch.rpm \ https://download1.rpmfusion.org/nonfree/fedora/rpmfusion-nonfree-release-$(rpm -E %fedora).noarch.rpm
This command downloads and installs the RPM Fusion repository packages appropriate for your Fedora version.
Step 2: Install NVIDIA Drivers
- Identify Your NVIDIA GPU: Determine your GPU model by running:
bash Copylspci | grep -E "VGA|3D" - Install the Driver: For most modern NVIDIA GPUs, install the latest driver with:
bash Copy
sudo dnf install akmod-nvidia
This package ensures that the NVIDIA kernel module (kmod) is automatically built and installed for your system’s kernel. - Install CUDA Support (Optional): If you require CUDA for parallel computing tasks:
bash Copysudo dnf install xorg-x11-drv-nvidia-cuda
This package provides libraries and tools for CUDA development.
Step 3: Reboot the System
After installation, reboot your system to load the new drivers:
bash Copysudo reboot
Upon reboot, your system should be utilizing the NVIDIA drivers.
Method 2: Manually Installing NVIDIA Drivers
For users who prefer manual control or need specific driver versions, installing directly from NVIDIA’s website is an option. This method is more involved and is recommended for advanced users.
Step 1: Prepare the System
- Update Your System:
bash Copysudo dnf update -y - Install Development Tools and Kernel Headers:
bash Copysudo dnf install kernel-devel kernel-headers gcc make dkms acpid libglvnd-glx libglvnd-opengl libglvnd-devel pkgconfig
These packages are necessary for building the NVIDIA kernel module.
Step 2: Blacklist Nouveau Drivers
The open-source Nouveau drivers need to be disabled to prevent conflicts.
- Create a Modprobe Configuration File:
bash Copysudo nano /etc/modprobe.d/blacklist-nouveau.conf - Add the Following Lines:
nginx Copyblacklist nouveau options nouveau modeset=0
Save and exit the editor. - Rebuild the Initial RAM Disk:
bash Copysudo dracut --force
Step 3: Download and Install NVIDIA Driver
- Download the Driver: Visit the official NVIDIA website and download the appropriate driver for your GPU.
- Set the File as Executable:
bash Copychmod +x NVIDIA-Linux-x86_64-*.run - Switch to Multi-User Target:
bash Copysudo systemctl set-default multi-user.target sudo reboot
This will reboot the system into a command-line interface. - Install the Driver:
- Log in and navigate to the directory containing the driver.
- Execute the installer:
bash Copysudo ./NVIDIA-Linux-x86_64-*.run - Follow the on-screen prompts to complete the installation.
- Log in and navigate to the directory containing the driver.
- Revert to Graphical Target:
bash Copysudo systemctl set-default graphical.target sudo
Complete Tutorial: How to Uninstall Nvidia Drivers and Restore Default Settings on Ubuntu

Frank Eichhorn is a dedicated computer drivers specialist with three years of experience optimizing gaming and system performance. With broad expertise in configuring and troubleshooting a variety of drivers, Frank provides practical guidance to maximize frame rates, reduce latency, and ensure system stability across diverse applications. His clear, accessible guides empower gamers and PC enthusiasts to navigate technical complexities with ease. Passionate about hardware and software optimization, Frank stays current with the latest driver updates and performance trends to help readers achieve peak system performance.